Professional Painters

Key Elements of a Professional Paint Job
As professional decorators we always paint a room in a particular order. We start with the ceiling. The walls are next; then the woodwork around doors and windows; then cornices and skirting board; and finally, the floor. This ensures that paint spattering down from the ceiling does not ruin newly painted walls. Cleaning off any paint that drips onto woodwork immediately is another mark of a professional contract decorator. It is easier to remove when it is still wet.
Applying paint
Before covering the walls in swathes of colour, you need to give some attention to the smaller details to ensure a professional finish. It is very important to create a precise finish around doors, windows and light fittings, as well as ensuring a neat line between ceiling and wall, as these are junctions which you will notice every time you enter or leave the room, or open or shut a window. You need to use a technique called ‘cutting in’. Using a small brush, 2.5—5 cm pressed firmly against the wall surface so that the bristles are slightly splayed, we paint a band of paint approx. 2.5 cm wide into the internal corners, wall and ceiling angles and above the skirting board.
We make a similar band around doors and windows. You can do this in the same way or use a slightly different technique which ensures a neater finish. We paint a series of small, horizontal strokes at right angles to the door or window frame. We join them together with a steady, firm vertical stroke of the brush, easing the bristles of the brush tight against the wooden frame.
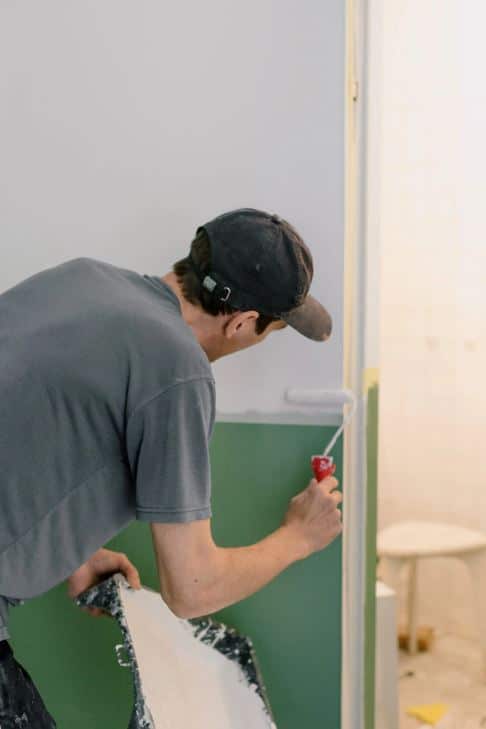
We paint the ceiling using a roller attached to an extension pole. We paint sections in strips, working from one side of the room to the other and back again, so that the direction of application alters with each strip. In order to give solid paint coverage, within each strip we apply the paint as when using a roller on a wall: starting with overlapping criss-crosses and finishing with straight strokes. When painting walls, we paint in strips from the top of the wall to the bottom, starting from the side of the wall closest to any natural light source. Having painted the walls and ceiling, we turn our attention to the precision painting areas: the doors and window frames.
Painting plaster mouldings
Next item in the sequence is the plaster work: mouldings such as cornices and ceiling roses.
Because of the porous nature of plaster, mouldings are particularly susceptible to staining caused by damp, mould, mineral salts and nicotine. You must ensure that these have been adequately dealt with, the surface made good and primed before you start repainting.

Mouldings should be painted with small paintbrushes or artist’s brushes, depending on their size and the amount of detail they entail. We start by using a 2.5 cm brush to apply the base colour, ensuring that the bristles are gently splayed to create a neat outer edge. When this colour has dried, we pick out some of the detail in a contrasting colour using a smaller artist’s brush. If we are trying to paint a straight line or particularly fine detail, we steady our hand by resting it against something solid.
